
Call: (954) 830-9661
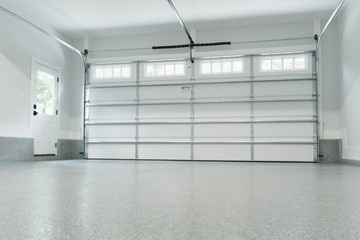
Garage doors are big, and generally quite sturdy, given the type of function expected from them. Garage doors may be opened and closed multiple times a day, and they have to function well despite huge variations in temperatures. They have to be able to withstand anything and everything from snow, pouring rain, extreme heat, and so much more. Sometimes they might get dents, scratches or other damage. Despite how roughly they are used, they generally last a long time before needing replacement.
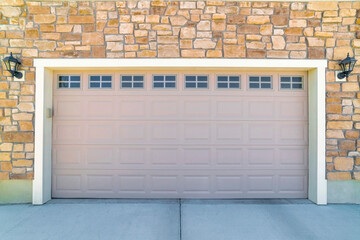
But you also have the option of replacing just the panels on your garage door if it has some damage to it or seems unsightly because of years of wear and tear. Replacing just the panels will save you time and money versus replacing the whole door. And best of all, this is not a very difficult task with the right tools and the right steps. This could either be a DIY project for you, or you could hire a reliable garage door repair company such as Garage Door Pros in Weston, FL to replace the panels for you. Here is a quick guide to replacing garage door panels.

Step 1
Measure and order your garage door panel. If you have an older garage door, you may need to order directly from the manufacturer. For a newer garage door 10-12 years old or less, you may find the panel you are looking for at a local company that sells garage doors.
Step 2
Once you have your new panel(s), it’s time to get to work! Firstly, make sure to unplug your automatic garage door opener. Then open the garage door and manually remove the springs. This is very important for safety, so that while you are working, the garage door should not spring open suddenly and cause damage and injury. If you are not sure of how to do this, or are unfamiliar with the various parts of your garage door, the best thing to do is calling the experts at Garage Door Pros for the best garage door service Weston, FL has to offer.
Step 3
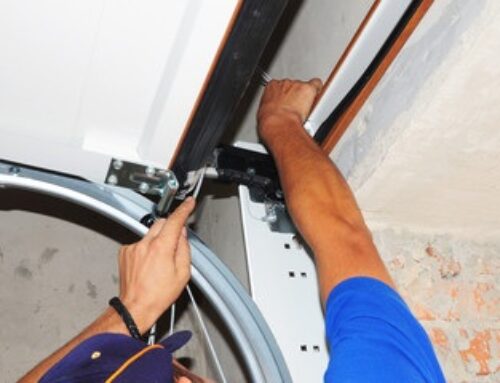
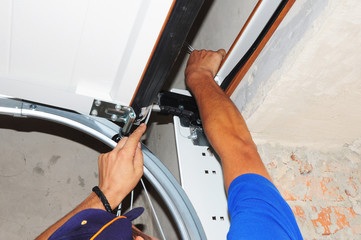
Now unscrew the old panels that you want to remove. All panels are attached to the track rollers that run into the tracks and to each other. So you need to remove the panels one by one until you reach the panel that you need to replace. To do this, separate the top panel from the one beneath it. The panel might be screwed on or you might need to undo the bolts using a ratchet and socket. When the panel is loosened, lift it up until it comes off the end of the track. Keep going until you’ve removed the panel that needs to be replaced.
Step 4
To put the new panel in, slide the rollers into the track and lower the new panel slowly until it’s touching the panel below it. Depending on your door, attach the new panel using either screws or a bolt. Now reattach the other panels in the order you removed them until all the panels are back in place.
Step 5
Check to ensure that all the fastenings are tight and then put the springs back in. Re-engage the garage door opener and plug in the power cord. Test the garage door by opening it. All the panels should slide up and down smoothly.
Step 6
Lastly, you may want to do a finishing job on your garage door to make sure that the new panel(s) match up with the older ones, and if not, paint over them or paint the entire door to give it a fresh, new look.
Remember, for panel replacement or any other repairs, calling a professional garage door repair company is always a good idea if you are not sure of what you are doing. In Weston, garage door repairs are performed expertly, affordably, and in a timely fashion by us at Garage Door Pros. We also offer maintenance and garage door replacement services. Just call us at our 24-hour hotline at 954.830.9661 and let us know how we can help you. No matter what the issue, Garage Door Pros will get your garage door back on track for you!
Leave A Comment
You must be logged in to post a comment.